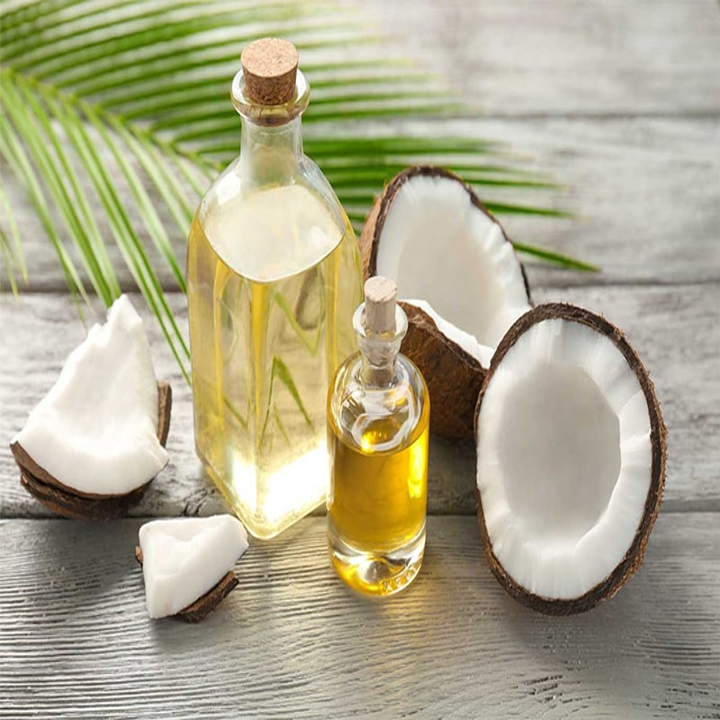
Coconut oil has long been known for its versatility and health benefits, ranging from skincare to cooking. While it’s widely available in stores, making your own coconut oil at home can be a rewarding experience. You might think it’s a complex process, but with a few simple steps, you can make coconut oil quickly and efficiently. In this article, we’ll guide you through a hassle-free method to create your very own coconut oil, including a unique step that involves heating the coconut for added flavor and richness.

Why Make Your Own Coconut Oil?
- Control Over Quality: By making your own coconut oil, you can ensure that it’s 100% pure, free from additives or preservatives.
- Cost-Effective: Store-bought coconut oil can be expensive, but making it at home is a cost-efficient alternative.
- Freshness: Homemade coconut oil is fresher and retains more nutrients compared to mass-produced versions.
Ingredients Needed:
- 1-2 mature coconuts (preferably organic)
- Water
Step-by-Step Guide to Making Coconut Oil:
- Prepare the Coconut:
- First, crack open the coconut and drain the water. Be sure to save the coconut water, as it’s a delicious and nutritious drink.
- Remove the meat from the coconut shell using a coconut scraper or knife. The meat should be firm and white in color.
- Grate the Coconut Meat:
- Use a grater or food processor to grate the coconut meat into fine pieces. This step is essential to extract the oil from the coconut more effectively.
- Extract Coconut Milk:
- Add the grated coconut to a bowl and pour in warm water. Use your hands or a spoon to squeeze and mix the coconut meat in the water to extract the coconut milk.
- Once you’ve squeezed out all the milk, strain it through a fine mesh sieve or cheesecloth to separate the coconut milk from the pulp.
- Roast the Coconut for Extra Flavor (Optional):
- This next step adds a unique, rich flavor to your coconut oil. Heat a pan over low-medium heat and place the leftover coconut pulp in the pan.
- Roast the pulp for 15-20 minutes, stirring occasionally. The pulp will start to turn golden brown, and you’ll notice a rich, toasty aroma filling the air. This step helps deepen the flavor of the coconut oil.
- Extract the Oil:
- After roasting, add the roasted coconut pulp back into the coconut milk. Put the mixture into a pot and heat it on low heat. Stir regularly to avoid burning.
- The oil will begin to separate from the milk after 30-60 minutes. Once the oil has completely separated, strain it out of the milk and pour it into a glass jar or container.
- Allow the oil to cool and solidify at room temperature. Store your homemade coconut oil in a cool, dry place.
Why Roasting Coconut Pulp Enhances the Flavor:
- Roasting the coconut pulp gives the oil a deep, rich flavor and a darker color. This method enhances the natural aroma of the coconut and is a favorite technique for those who prefer a more intense coconut flavor in their oil.
- The roasting process also helps remove any residual moisture from the coconut pulp, allowing the oil to extract more effectively during the heating stage.
Uses for Homemade Coconut Oil:
- For Cooking: Use your coconut oil in cooking, baking, or as a frying oil. It’s perfect for high-heat cooking due to its high smoke point.
- For Skin Care: Coconut oil is a natural moisturizer that can be applied directly to your skin for hydration and softness.
- For Hair Care: Massage coconut oil into your scalp and hair for deep conditioning and nourishment.
- For Health: Incorporate coconut oil into your diet for its medium-chain fatty acids, which are great for boosting metabolism and supporting brain health.
Conclusion:
Making coconut oil at home doesn’t have to be a complicated or time-consuming process. With a few easy steps and a little patience, you can enjoy fresh, homemade coconut oil with enhanced flavor from the roasting step. It’s an affordable and rewarding way to enjoy the pure benefits of coconut oil for cooking, beauty, and health. So, gather your coconuts and start making your own oil today—you’ll be amazed by the difference!